As Rosslyn’s icehouse rehab heads into the final few laps, were beginning to focus on finishes details. In the case of T&G nickel gap installation that means that the large planes (walls and ceilings) are almost complete, so the team’s focus on nickel gapping the remaining nooks and crannies.

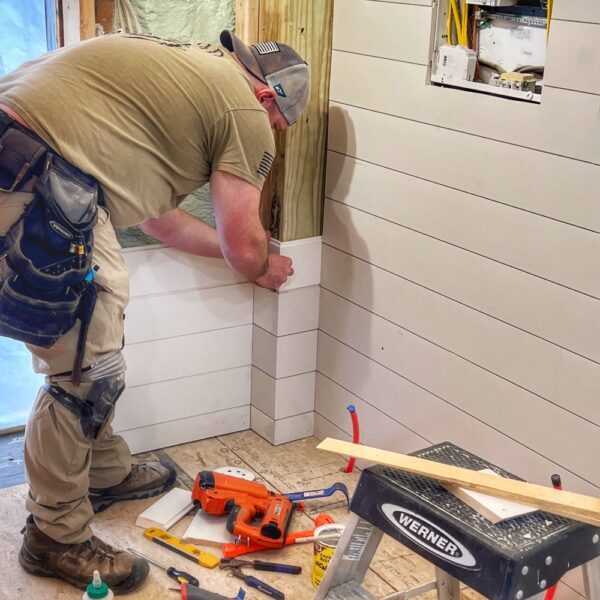
In the photograph above, Matt is mitering and fastening T&G around an inverted corner located at the southeast of the building. The engineer stipulated that two corners — this one as well as the northeast one, located in the bathroom — have load bearing structural columns helping to ensure structural integrity of the loft. Because we’re taking the time to miter (45° angle-cut) both our convex *and* concave corners these finicky little details take time. But details matter!

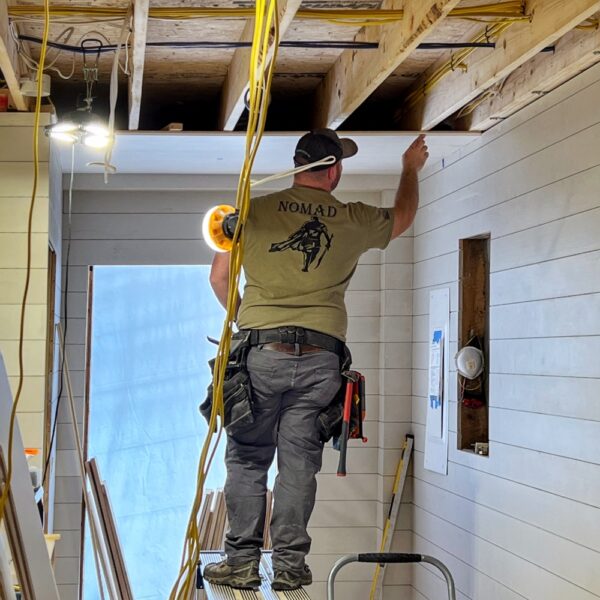
By the time Matt moved on to the ceiling, he’d completed the corner as you can see above. Nickel gapping corners like this requires attention to detail and patience, painstakingly ensuring that the horizontal grooves line up perfectly and the mitered corners, especially the convert corner, close up 100%.

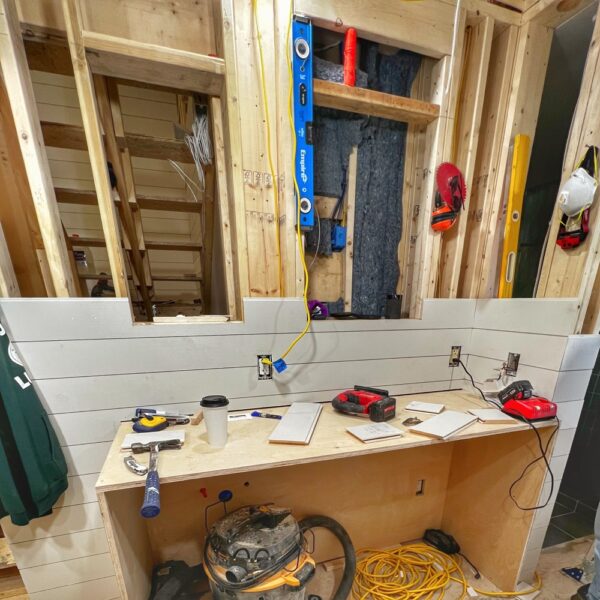
This next pair of photos focuses on the interior wall behind the coffee bar. Note nickel gapping up from the cabinet carcass, just reaching the two apertures in the wall. These will both be finish into niches, the right trimmed into shelves, and the left trimmed into a cabinet with interior shelves.

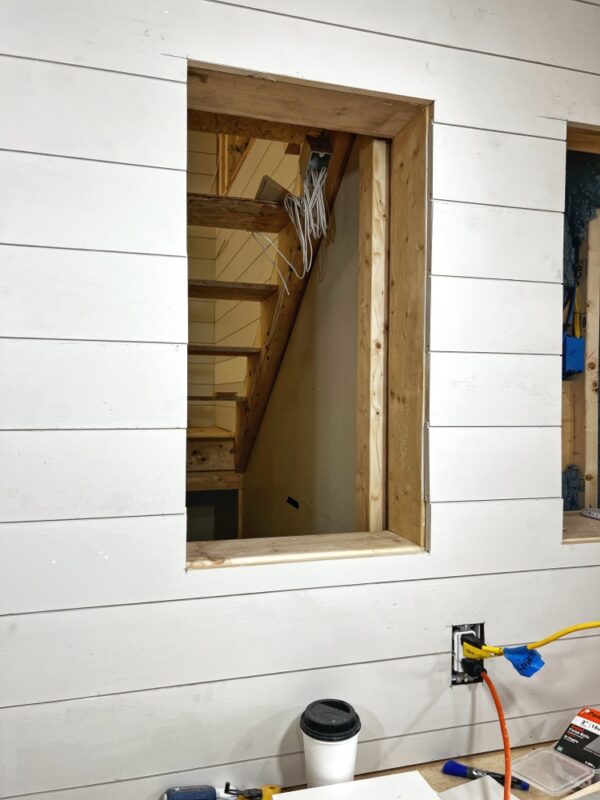
In this final photograph the wall and niches are beginning to reveal themselves. And yet a sneak peek through the left opening reveals the backside of the staircase and newly installed nickel gapping in the stairwell. A fleeting view that will soon vanish as we finish up the stairs and the cabinetry.
Still nooks and crannies today. But nickel gapping and trimming in the days ahead will transform these mercurial rough spots into seamless details that collectively contribute to a seamless, cohesive, and unified interior design. Or so we hope!
What do you think?