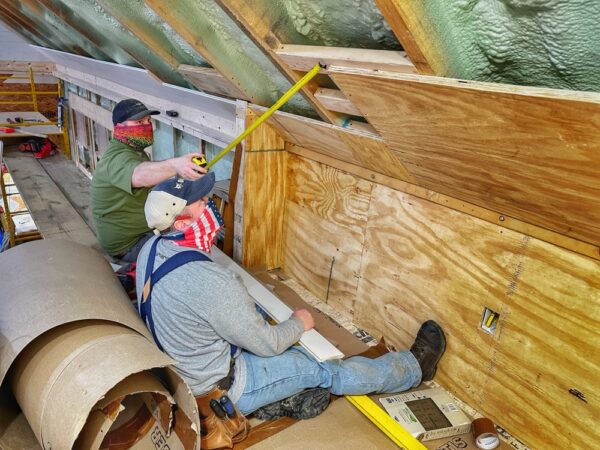
Time for a nickel gap progress report. But first let’s backfill slightly. As you may recall, we decided to finish the icehouse interior in T&G nickel gap instead of shiplap. We estimated and re-estimated material, ordered it from of T&G from Haselton’s, waited a couple of weeks for milling and delivery, and then offsite material preparation began.
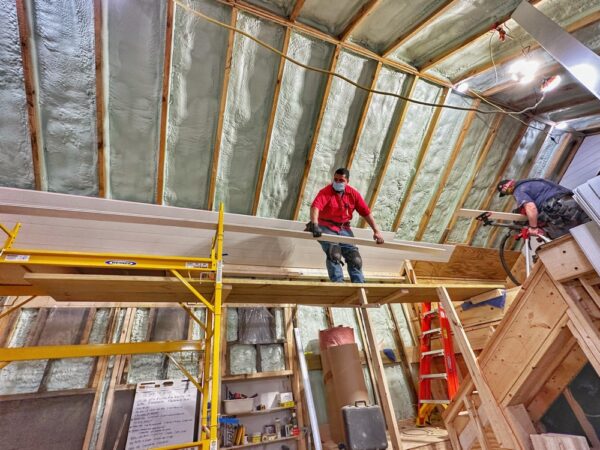
We’ve been fortunate to have two offsite heated garage-workshops serving as paint shops for all of this material because we wanted to pre-finish the lumber and had no viable space on site. Our prep and finish has included 1) shellac-based primer or equivalent on all knots, etc., 2) two coats of rolled primer, and 3) two brushed coats of finish paint.
T&G Installation
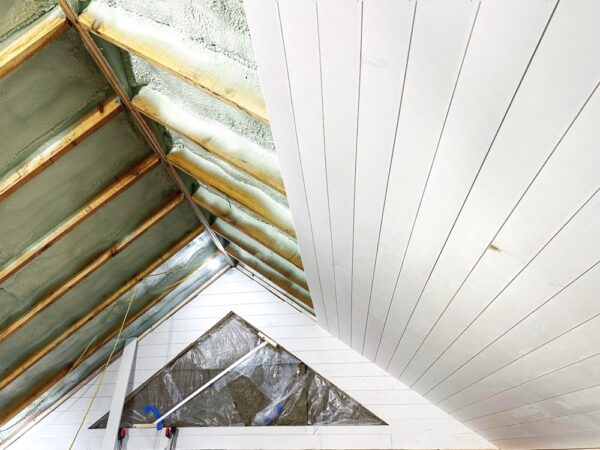
We started by coordinating our installation plan to ensure 100% consistency across weeks of installation with rotating team members. We’re using 16-gauge brad nailers with 2” nails through the tongues, into the 2” studs and rafters. On sloped and flat ceilings T&G is being doubled up and “scissor nailed” as follows:
- maximizing the nailing angle of fasteners as close to 90° as possible to ensure maximum holding,
- taking advantage of the full width of the 2” rafters,
- driving the fasteners through the shoulder of the tongues into the framing at a 45° angle to improve retention against gravity, and
- shimming if/as necessary to ensure full contact of T&G with rafters and to eliminate waviness.
When installation began, we transported material into the icehouse in sufficient amounts calibrated to speed of progress. We still need a little more trial-and-error to perfect our flow while trying balance multiple considerations:
- enough material needs to be onsite for ongoing/continuous installation,
- material flow should anticipate enough acclimatization time so that we don’t experience expansion or shrinkage after installation,
- and, just to keep things challenging, we need to avoid having excess material in the icehouse at any given time because it gets in the way of other projects.
In short, three challenges baked into one!
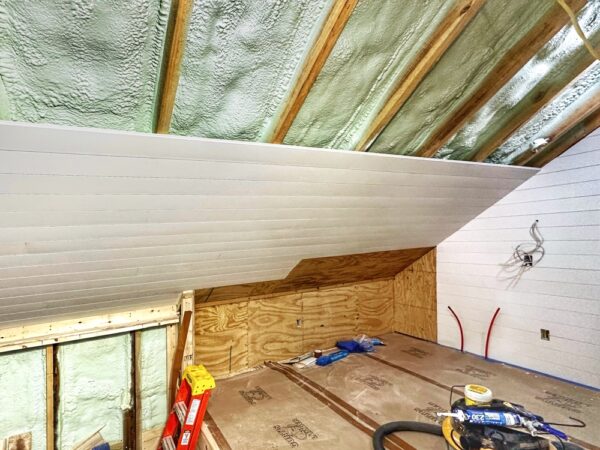
Nickel Gap Progress
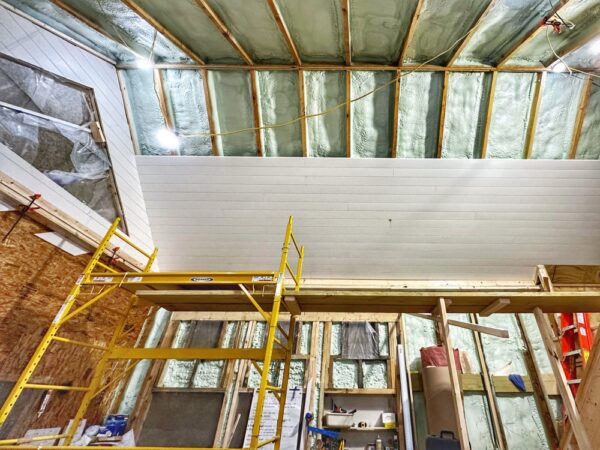
As you can see, we started out with the two gable end walls per Peter’s prudent recommendation. Now we’ve moved onto the north ceiling, with close to 2/3 complete including the challenging integration where loft built is are being installed.
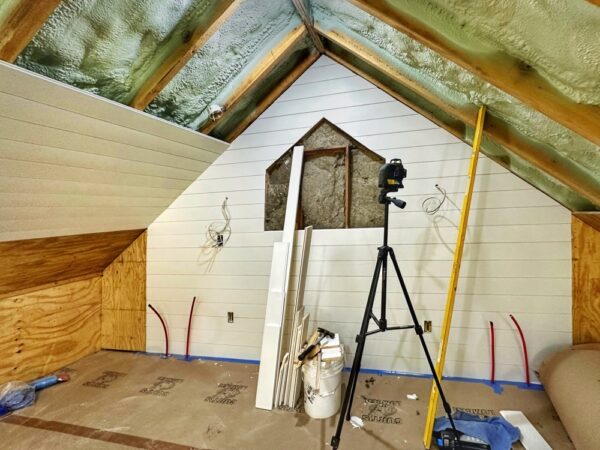
Matt, Jarrett, Supi, and Eric have been focusing on the T&G nickel gap installation, and the progress is really starting to add up. The coming promised to be another visual leap forward as the ceiling gets closed up. I promise to post photos as soon as significant headway has been made!
Nickel Gap Progress Video
Let’s wrap up with a little moving picture to show you what’s happened so far…
What do you think?